Better Than Any Parlor: Make Old Fashioned Vanilla Ice Cream at Home
There's a certain magic to homemade ice cream, a nostalgic charm that store-bought tubs, no matter how premium, can never quite capture. But when we talk about *old fashioned vanilla ice cream recipe*, we're stepping into a league of its own. This isn't just any vanilla; it's a rich, velvety custard-based dream that transports you back to simpler times, evoking memories of summer afternoons, family gatherings, and the comforting churn of an ice cream maker. Forget the artificial flavors and stabilizers of commercial options; this homemade delight offers an unparalleled creaminess and a true, deep vanilla flavor that will make you question why you ever bought it from a parlor.
Making your own ice cream from scratch might seem intimidating, but with this time-honored recipe, you're just five simple ingredients away from a dessert experience that truly outshines anything you can buy. It’s a tradition passed down through generations, celebrated for its decadent texture and pure taste. Get ready to impress your family and friends with a scoop (or two!) of the best vanilla ice cream they've ever tasted, right from your own kitchen.
Why Homemade Old-Fashioned Vanilla Ice Cream Trumps the Rest
The allure of a classic, old-fashioned vanilla ice cream recipe lies in its simplicity and the superior quality of its end product. Unlike many commercial ice creams, which often rely on stabilizers, excessive air, and artificial flavorings, a homemade version focuses on pure, wholesome ingredients. This foundational difference results in a product that is denser, significantly creamier, and bursting with authentic flavor.
One of the key distinctions is the **custard base**. This method involves gently cooking egg yolks, sugar, and dairy until thickened, creating a luxurious foundation that contributes to an incredibly smooth and rich texture, far surpassing what you get from "Philadelphia style" (egg-free) ice creams. This custard base minimizes ice crystal formation, ensuring every spoonful melts decadently on your tongue.
Beyond the superior taste and texture, there's the undeniable joy and satisfaction of crafting something truly special from scratch. It's an experience that fosters connection – whether it's the anticipation of churning with loved ones on a warm evening or the shared delight of enjoying the finished product. This tradition has been a staple in many Southern households for decades, a perfect way to beat the summer heat or celebrate any occasion. Imagine serving scoops that hold up beautifully on a cone without instantly melting, or presenting a dessert so rich and satisfying it becomes the star of any holiday or birthday celebration. For more insights into these beloved traditions, explore
Grandma's Best: Classic Old Fashioned Vanilla Custard Ice Cream.
The Core Components: Understanding Your Ingredients
The magic of this old fashioned vanilla ice cream recipe comes down to five fundamental ingredients, each playing a crucial role in achieving that perfect creamy consistency and rich flavor. Choosing quality ingredients is paramount here; remember, the fewer the ingredients, the more each one shines.
*
Egg Yolks: These are the heroes of our custard base. The egg yolks emulsify the mixture, creating a rich, smooth texture and preventing ice crystals. They also add a beautiful golden hue and contribute to the ice cream's decadent mouthfeel. Always opt for fresh, high-quality eggs.
*
Sugar: Beyond sweetness, sugar plays a vital role in the texture of ice cream. It lowers the freezing point, helping to keep the ice cream softer and more scoopable, rather than rock-hard. Granulated sugar is perfect for this recipe.
*
Half-and-Half: This dairy product, a blend of whole milk and light cream, forms the lighter liquid base of our custard. It provides a good fat content necessary for creaminess without being overwhelmingly heavy on its own.
*
Whipping Cream (Heavy Cream): This is where much of the richness and body come from. With a high fat content (typically 36% or more), heavy cream is essential for creating that luxurious, velvety texture that defines old-fashioned ice cream. It's added *after* the custard is cooked and cooled.
*
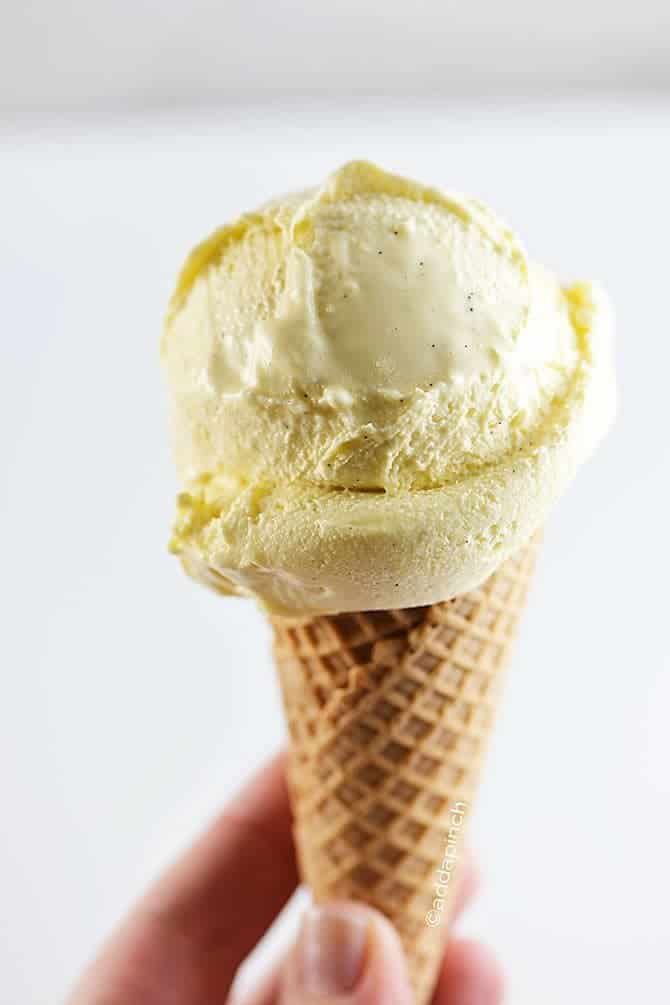
Vanilla Extract: The soul of vanilla ice cream! While store-bought vanilla extract works well, for an truly exceptional flavor, consider using high-quality pure vanilla extract, vanilla bean paste, or even scraping the seeds from a fresh vanilla bean. Those tiny speckles of real vanilla bean are a hallmark of authentic, decadent vanilla ice cream.
Together, these five simple ingredients transform into a rich, creamy, and undeniably delicious dessert that will leave a lasting impression. You can also explore
Rich & Creamy: 5-Ingredient Old Fashioned Homemade Vanilla Ice Cream for a slightly different take on this simple yet profound approach.
Crafting Perfection: A Step-by-Step Old Fashioned Vanilla Ice Cream Recipe
Ready to churn out your own masterpiece? This traditional old fashioned vanilla ice cream recipe guides you through the process of creating a sublime dessert with a perfectly rich custard base.
Ingredients:
- 5 large egg yolks
- 2/3 cup granulated sugar
- 1 cup half-and-half
- 1 cup whipping cream (heavy cream)
- 2 teaspoons pure vanilla extract (or 1 teaspoon vanilla bean paste)
Equipment:
- Double boiler (or a heatproof bowl set over a saucepan of simmering water)
- Whisk
- Spatula
- Fine-mesh sieve (optional, for extra smoothness)
- Ice cream freezer (churn)
- Airtight container for storage
Instructions:
- Prepare the Custard Base: In the top of a double boiler (or a large heatproof bowl), combine the egg yolks and sugar. Whisk vigorously until the mixture is well blended, pale yellow, and slightly thick.
- Cook the Custard: Place the top of the double boiler over simmering water (ensure the bottom of the bowl does not touch the water). Gradually stir in the half-and-half. Cook the mixture slowly, stirring constantly with a whisk or spatula, until it thickens enough to coat the back of a spoon. This typically takes about 8-12 minutes. The temperature should reach 160-170°F (71-77°C) to ensure the eggs are cooked. *Do not boil* or you risk scrambling the eggs. If you find it's not thickening sufficiently, and as a very last resort, you can microwave it for short bursts (30 seconds to 1 minute), stirring between each, until the desired thickness is achieved. However, the double boiler method offers the best control for a silky smooth custard.
- Cool the Custard: Immediately remove the custard from the heat. To stop the cooking process and cool it quickly, you can place the bowl in an ice bath (a larger bowl filled with ice and a little water), stirring occasionally. Alternatively, simply let it cool completely to room temperature, then refrigerate for at least 4 hours, or preferably overnight, until thoroughly chilled. Chilling is crucial for the best texture.
- Add Remaining Ingredients: Once the custard is completely chilled, stir in the whipping cream and vanilla extract. Whisk gently until well combined. For an extra smooth custard, you can strain the mixture through a fine-mesh sieve at this point, though it’s often not necessary if cooked properly.
- Churn the Ice Cream: Pour the chilled mixture into the bowl of your ice cream freezer. Process according to your manufacturer's instructions. This usually takes 20-30 minutes, or until the ice cream is firm and has the consistency of soft-serve.
- Harden (Ripen) the Ice Cream: For a firmer, more scoopable ice cream, transfer the freshly churned ice cream to an airtight container. Press a piece of parchment paper or plastic wrap directly onto the surface to prevent ice crystals, then cover tightly. Freeze for at least 2-4 hours, or until thoroughly hardened.
Tips for Success & Elevating Your Homemade Treat
Achieving that perfect, parlor-quality old fashioned vanilla ice cream recipe at home involves a few key considerations and techniques.
*
Quality Ingredients are King: We can't stress this enough. Fresh, quality eggs, good dairy, and pure vanilla extract make a huge difference. Consider using vanilla bean paste or even a whole vanilla bean (split and scraped, then steeped in the half-and-half before cooking) for the most intense, authentic vanilla flavor.
*
Don't Rush the Cooking: When making the custard, patience is a virtue. Cook it slowly over simmering water, stirring constantly, to ensure even cooking and prevent the eggs from scrambling. If you see any signs of scrambling, immediately remove it from heat and whisk vigorously. A fine-mesh sieve can rescue a slightly lumpy custard.
*
Thorough Chilling is Non-Negotiable: The custard *must* be completely chilled before churning. Warm custard will not freeze properly, resulting in a less creamy, icy texture. Plan ahead and allow ample time for chilling, ideally overnight.
*
Mind Your Ice Cream Maker: Familiarize yourself with your specific ice cream freezer's instructions. Ensure the freezer bowl is frozen solid for at least 24 hours prior to use. Overfilling your machine can also lead to issues, as the mixture will expand as it churns.
*
Prevent Freezer Burn: When storing your homemade ice cream, always press plastic wrap directly onto the surface before sealing the container. This prevents air exposure, which causes ice crystals and freezer burn. Enjoy your fresh ice cream within 1-2 weeks for the best quality.
*
Serving Suggestions: While heavenly on its own in a bowl or cone, this rich vanilla ice cream is also the perfect accompaniment to countless desserts. Think warm apple pie, berry cobbler, chocolate fudge cake, or as the base for a decadent sundae with homemade hot fudge and whipped cream. Its robust vanilla flavor makes it incredibly versatile.
Conclusion
There's truly nothing quite like a scoop of homemade old fashioned vanilla ice cream. It's a taste of tradition, a celebration of simple ingredients, and a testament to the joy of crafting something beautiful with your own hands. This isn't just a dessert; it's an experience, a memory in the making, and a delicious escape from the ordinary. By following this tried-and-true old fashioned vanilla ice cream recipe, you'll create a treat so rich, so creamy, and so bursting with authentic vanilla flavor that it will forever change your perception of ice cream. So, dust off that ice cream maker, gather your ingredients, and prepare to bring parlor-quality perfection right into your home. Your taste buds (and your family) will thank you!